Smith Berry Barn

water

Ginger Pear Butter

October 10, 2020

Ginger Pear Butter
Print Recipe
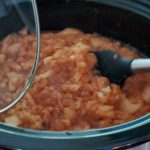
This mellow, sweet sauce is simmered in a slow cooker and gently spiced with fresh ginger. Special tools required: slow cooker and immersion blender
Servings Prep Time
6 half pints 30 minutes
Cook Time
12 hours
Servings Prep Time
6 half pints 30 minutes
Cook Time
12 hours
Ingredients
  • 6 lbs fresh pears (peeled, sliced and cored)
  • 1 piece fresh ginger (thumb-sized) (peeled, cut into 1/4" pieces)
  • 1/3 cup brown sugar
  • 2 Tbs pure vanilla extract
  • 1 ea juice of one lemon
  • 1/4 tsp salt
  • 1/2 cup water
Servings: half pints
Instructions
  1. Peel, slice and core the pears and place in slow cooker.
  2. Add all remaining ingredients to slow cooker.
  3. Cover slow cooker and cook on low for 8-10 hours. Feel free to stir occasionally during this time.
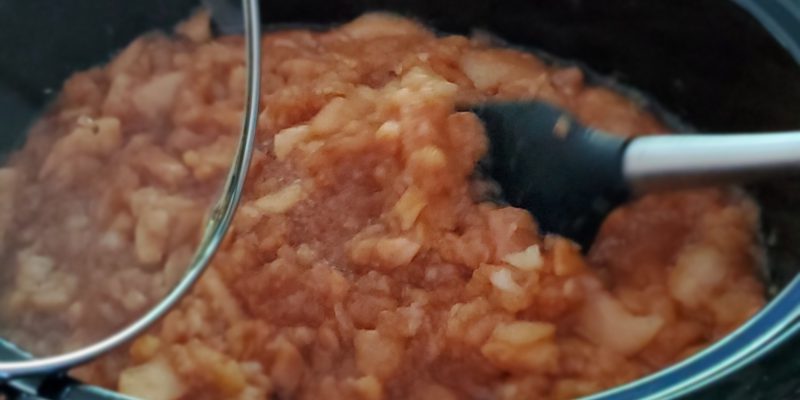
  4. Once pears have simmered and softened for desired cooking time, puree the pears using a hand immersion blender.
  5. Re-set your slow cooker to high and cook for 2-4 hours, or until pear sauce cooks down to a thicker consistency. Stir occasionally during this step.
  6. Once your pear butter has reached the desired consistency, it can be refrigerated for several weeks or preserved into canning jars for up to 1 year (see directions below).
Recipe Notes

Pear Butter can be preserved using the Ball Canning Method:

  1. Prepare boiling water canner. Heat jars in simmering water until ready to use, do not boil. Wash lids in warm soapy water and set aside with bands.
  2. Ladle hot pear butter into a hot jar leaving a 1/4 inch headspace. Remove air bubbles. Wipe jar rim. Center lid on jar and apply band, adjust to fingertip tight. Place jar in boiling water canner. Repeat until all jars are filled.
  3. Process jars 15 minutes, adjusting for altitude. Turn off heat; remove lid, let jars stand 5 minutes. Remove jars and cool. Check lids for seal after 12 hours. Lid should not flex when center is pressed.

Spiced Wine Poached Pears

November 18, 2017

Spiced Wine Poached Pears
Print Recipe
Our Comice pears are perfect for this amazingly simple, yet 'fancy' dessert. Comice pears are delicious on their own, but when poached in this simple wine sauce, they rise to a whole new level!
Servings Prep Time
4 servings 20 minutes
Cook Time
45 minutes
Servings Prep Time
4 servings 20 minutes
Cook Time
45 minutes
Ingredients
  • 4 whole fresh pears (peeled, stem on)
  • 2 1/2 cups red wine
  • 1 cup water
  • 1 cup brown sugar
  • 2 Tbs mulling spices (Smith Berry Barn)
Servings: servings
Instructions
  1. Peel pears with paring knife, leaving the stem on the pear. Slice a small section off bottom to help the pear stand upright.
  2. Place red wine, water, brown sugar and mulling spices in sauce pan large enough to hold 4 pears. Add pears and make sure they're completely covered with liquid. If not, add a bit more wine and water to cover.
  3. Bring liquid just to a boil and reduce heat to a simmer. Allow pears to simmer in wine sauce until softened all the way through, approximately 25-30 minutes. A toothpick can be inserted into the pear to test for doneness.
  4. Remove pears from simmering liquid and place on a plate to drain and cool slightly.
  5. Bring wine sauce back to a boil and allow to gently boil for 15-20 minutes until reduced to a syrup consistency. Pour syrup through strainer to strain out spices.
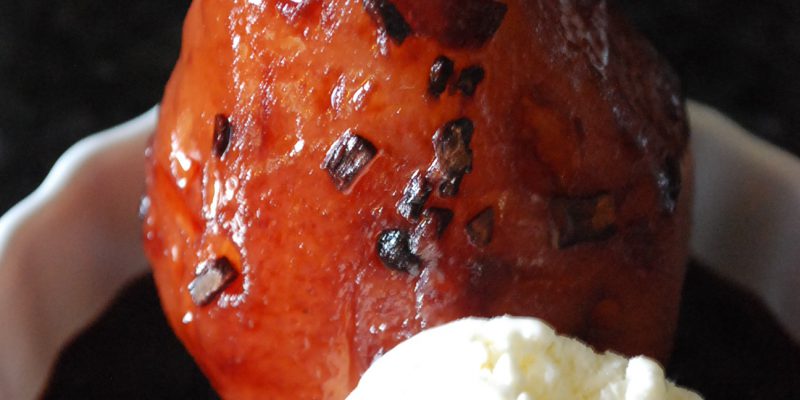
  6. Place each pear in an individual serving dish. Pour syrup over pears. Add a scoop of vanilla ice cream and add a bit more syrup. Enjoy!

Fresh Applesauce

October 12, 2016

Fresh Applesauce
Print Recipe
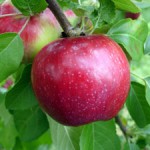
Use this basic recipe for fresh applesauce and create different flavor profiles by mixing varieties of apples. See our suggestions below for the best apples to use for saucing. For added flavor, try adding cinnamon or ginger to taste.
Servings Prep Time
4 pints 20-30 minutes
Cook Time
30 minutes
Servings Prep Time
4 pints 20-30 minutes
Cook Time
30 minutes
Ingredients
  • 16 medium apples (approximately 6 lbs)
  • 1/2 lemon (juice and zest)
  • 1 cup water
  • 1/4 cup brown sugar
  • 1/4 cup white sugar
  • 1/4 tsp salt (optional)
Servings: pints
Instructions
  1. Peel, core and slice apples.
  2. Place all ingredients, including apples into large stock pot.
  3. Bring just to a boil on medium-high heat.
  4. Reduce heat to medium-low and simmer for 20-30 minutes, stirring (mashing) occasionally with potato masher.
  5. Sauce is finished when apples have softened completely. Sauce will be slightly chunky. If a smoother consistency is desired, run the sauce through a food mill or food processor.
  6. Sauce may be frozen for up to 6 months, or canned following specific canning guidelines for applesauce.
Recipe Notes

Apple Suggestions: ??We use at least two varieties in our sauce and can give you ideas on which varieties to combine for the best flavor and texture. ??Some of our favorite apples for saucing include McIntosh, Liberty, Gravenstein, Akane, Jonagold and Melrose. ??Stop in for samples and check out our Apple Variety list for information on the best apples for saucing.

Dill Pickles

March 21, 2016

Dill Pickles
Print Recipe
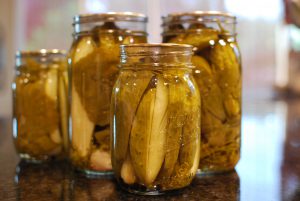
Our dill pickle recipe has been modified over the years, but originated from a customer who taught us about using our own fresh grape leaves to help keep our pickles crisp. We take special orders each season for pickling cukes and dill, and we have grape leaves available as a specialty u-pick crop. Please ask us for details!
Servings Prep Time
24 Quarts (25 lb bag) 60+ minutes
Cook Time
60+ minutes
Servings Prep Time
24 Quarts (25 lb bag) 60+ minutes
Cook Time
60+ minutes
Ingredients
Ingredients for Brine (requires 2+ batches):
  • 4 cups white vinegar
  • 12 cups water
  • 1 cup pickling salt
Ingredients for Pickles (per each jar):
  • 1-2 each grape leaves (fresh picked)
  • 2 heads fresh dill
  • 1/2 teaspoon whole black peppercorn
  • 1/4 teaspoon mustard seed
  • 5 whole cloves fresh garlic (peeled)
  • 1-2 each dried chili peppers (optional)
Servings: Quarts (25 lb bag)
Instructions
Canning instructions:
  1. This recipe provides the ingredients and some tips for making pickles, however we will not be providing complete instructions for the canning process. For the most current instructions for safe canning methods, we prefer that you use a reputable source for canning your pickles. We use the Ball Blue Book (freshpreserving.com) for proper canning and water bath instructions for making Kosher Dill Pickles. You may also click below on Our Favorite Links for links to several home canning websites.
Before you begin:
  1. Pickling cucumbers are best when they are harvested within one to two days of when you plan to pickle, so place your orders accordingly. Be sure to have your jars, ingredients and equipment ready ahead of time. Jars must be sterilized prior to canning. Once your work station is ready, you will want to begin simmering the water for your water bath so it's ready when you are. Place your pickling cukes in a large bowl or bin of cold water to allow you to clean and sort more easily.
To make the brine:
  1. Place all of the brine ingredients in a large stock pot and bring just to a boil. Reduce heat and simmer while you prepare your pickles. You will be adding the brine to your jars of pickles just before you seal them for placing into the water bath. You may want to increase your brine recipe to make sure you have enough to fill all of your jars. You will need to make several batches of brine depending on how many jars of pickles you end up making.
Filling your jars:
  1. Each jar should be filled with the ingredients listed above. Most water bath canners will hold 6-7 quart jars at one time, so you will only need to fill that many jars at once and then fill another 6-7 as those are boiling in the water bath. To fill each jar, place the grape leaves on the inside wall of the jar, overlapping the two leaves slightly. Add all of the spices, including the heads of dill to the bottom of the jars, being careful not to disrupt the grape leaves too much. Finally, add the cucumbers. Try to pack as many cucumbers in the jar as possible, making sure they don't stick out of the top of the jar. You will want approximately 1/4-1/2" of head space in each jar. Cucumbers vary in size, so you will want to sort through your cukes and select different sizes to completely fill your jars. You may also slice or cut your pickles into spears in order to make them fit better.
Finishing your pickles:
  1. You will finish your pickles by pouring the hot brine into each jar, being sure to leave the proper head space. Place in the water bath for the recommended length of time. Once pickles are finished, they should be store for several weeks (approx 6) to develop the flavor.