Smith Berry Barn

salt

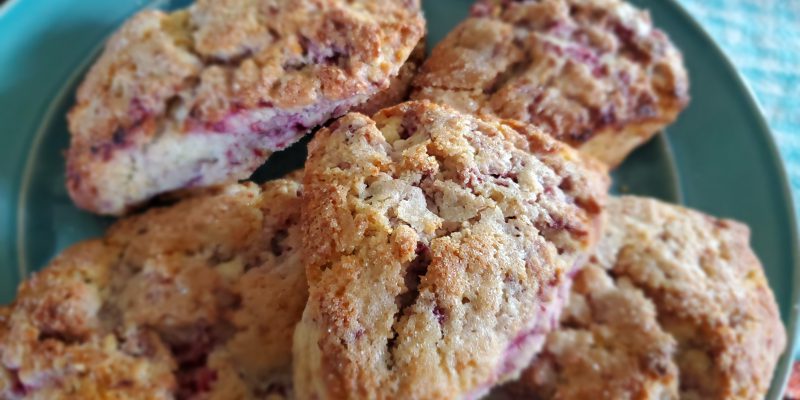
Fresh Raspberry Scones

June 19, 2021

Fresh Raspberry Scones
Print Recipe
This basic scone recipe can be made with almost any berry that's in season....or it works equally as well with frozen berries. Softer berries are a little messier to mix, but still delicious. Try blueberries, marionberries, tayberries, even strawberries!
Servings Prep Time
8-12 scones 15 minutes
Cook Time Passive Time
15-18 minutes 30 minutes
Servings Prep Time
8-12 scones 15 minutes
Cook Time Passive Time
15-18 minutes 30 minutes
Ingredients
for Dough
  • 2 cups (284 g) all purpose flour
  • 1 cup (100 g) almond flour sub 1/2 cup whole wheat flour if desired)
  • 1/2 cup (100 g) sugar
  • 1 Tbs baking powder
  • 1/2 tsp salt
  • 1/2 cup (4 oz) unsalted butter chilled, cut into pieces
  • 1 cup fresh raspberries sub frozen if desired
  • 1 cup heavy cream
  • 1/2 tsp almond extract
for Topping
  • 2-3 Tbs heavy cream
  • 2-3 Tbs raw sugar
Servings: scones
Instructions
  1. In food processor, mix all dry ingredients and pulse several times just to mix. Add chilled butter and pulse multiple times until butter pieces are the size of small peas and mixture is coarse and crumbly.
  2. Transfer mixture to medium mixing bowl. Add fresh raspberries and gently stir to evenly distribute berries.
  3. In a liquid measuring cup, measure out heavy cream and add the almond extract. Pour liquid mixture over dry mixture. Stir gently just bring mixture together. If bits of dry ingredients don't come together, dump mixture onto clean surface and finish bringing together with your hands. This can be a bit messy, but continue to bring dough together until it comes together enough to hold it's shape.
  4. Form dough into a circle, approximately 8" across. Flatten with hands and cut into 8 equal wedges. Transfer each scone to parchment lined baking sheet with space in between. Alternatively, dough can be divided using an ice cream scoop and dropped onto baking sheet.
  5. Using a pastry brush, top each scone with the additional heavy cream. Sprinkle raw sugar on top.
  6. Place baking sheet in refrigerator for 20-30 minutes to chill. While scones are chilling, preheat oven to 400 degrees.
  7. Bake scones for 15 minutes and check for doneness. They should be lightly browned on the outside and soft but not gooey on the inside. Gently tap the center surface of scone to test for doneness. If scones need more time, add 3-5 minutes, but keep a close eye for browning. Rotate pan if necessary.
  8. These scones are best when fully cooled, but eaten within the first day or two.

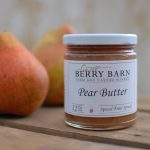
Ginger Pear Butter

October 10, 2020

Ginger Pear Butter
Print Recipe
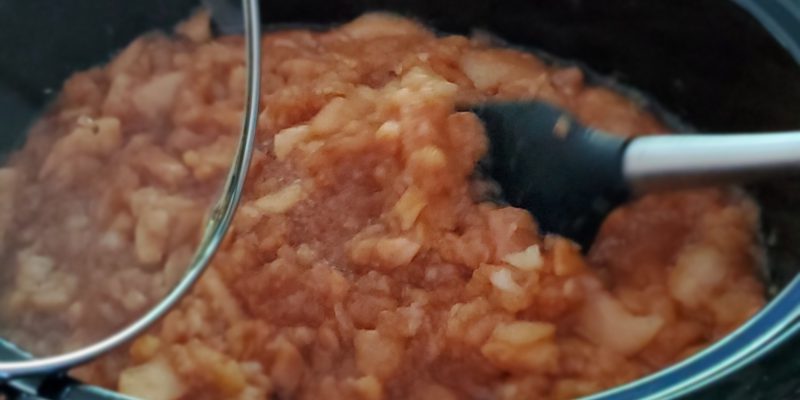
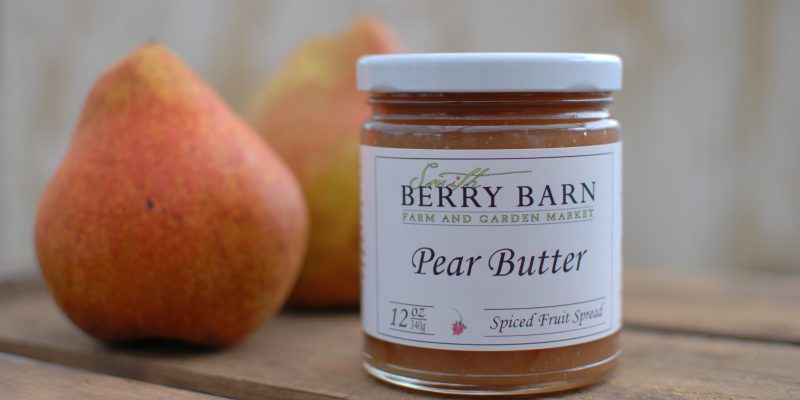
This mellow, sweet sauce is simmered in a slow cooker and gently spiced with fresh ginger. Special tools required: slow cooker and immersion blender
Servings Prep Time
6 half pints 30 minutes
Cook Time
12 hours
Servings Prep Time
6 half pints 30 minutes
Cook Time
12 hours
Ingredients
  • 6 lbs fresh pears (peeled, sliced and cored)
  • 1 piece fresh ginger (thumb-sized) (peeled, cut into 1/4" pieces)
  • 1/3 cup brown sugar
  • 2 Tbs pure vanilla extract
  • 1 ea juice of one lemon
  • 1/4 tsp salt
  • 1/2 cup water
Servings: half pints
Instructions
  1. Peel, slice and core the pears and place in slow cooker.
  2. Add all remaining ingredients to slow cooker.
  3. Cover slow cooker and cook on low for 8-10 hours. Feel free to stir occasionally during this time.
  4. Once pears have simmered and softened for desired cooking time, puree the pears using a hand immersion blender.
  5. Re-set your slow cooker to high and cook for 2-4 hours, or until pear sauce cooks down to a thicker consistency. Stir occasionally during this step.
  6. Once your pear butter has reached the desired consistency, it can be refrigerated for several weeks or preserved into canning jars for up to 1 year (see directions below).
Recipe Notes

Pear Butter can be preserved using the Ball Canning Method:

  1. Prepare boiling water canner. Heat jars in simmering water until ready to use, do not boil. Wash lids in warm soapy water and set aside with bands.
  2. Ladle hot pear butter into a hot jar leaving a 1/4 inch headspace. Remove air bubbles. Wipe jar rim. Center lid on jar and apply band, adjust to fingertip tight. Place jar in boiling water canner. Repeat until all jars are filled.
  3. Process jars 15 minutes, adjusting for altitude. Turn off heat; remove lid, let jars stand 5 minutes. Remove jars and cool. Check lids for seal after 12 hours. Lid should not flex when center is pressed.

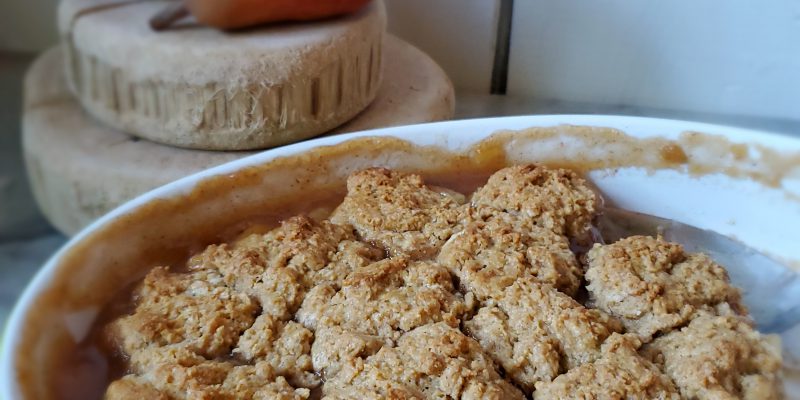
Spiced Pear Cobbler

October 9, 2020

Spiced Pear Cobbler
Print Recipe
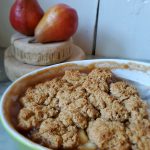
This is a perfect dessert to enjoy in the fall, featuring fresh, ripe pears and seasonal spices. Best served warm with vanilla ice cream!
Servings Prep Time
6-8 servings 30 minutes
Cook Time Passive Time
45 minutes 30 minutes
Servings Prep Time
6-8 servings 30 minutes
Cook Time Passive Time
45 minutes 30 minutes
Ingredients
For the Filling
  • 3 Tbs butter
  • 8 each fresh, ripe pears peeled, cored and cut into pieces
  • 1 cup sugar
  • 1/4 cup corn starch
  • 1 tsp cinnamon
  • 1/2 tsp ground ginger
  • 1/2 tsp salt
  • 1 tsp pure vanilla extract
For the Topping
  • 1 1/2 cups all purpose flour
  • 1/2 cup brown sugar packed
  • 1 tsp baking powder
  • 1 tsp ground cinnamon
  • 1/4 tsp ground ginger
  • 1/4 tsp allspice
  • 1/4 tsp freshly ground nutmeg
  • 1/4 tsp salt
  • 1/4 cup unsalted butter chilled and cut into pieces
  • 1/4 cup half & half
Servings: servings
Instructions
To prepare the Filling
  1. Preheat oven to 350 degrees.
  2. Mix all dry ingredients in bowl and set aside.
  3. Melt butter in a skillet over medium heat on the stovetop. Add pears and stir to coat.
  4. Add the sugar mixture and stir to coat pears. Continue cooking and stirring carefully until sugar mixture is dissolved and becomes thickened and bubbly, approximately 5 minutes.
  5. Stir in the vanilla and remove from heat. Transfer pear mixture to a 2 quart baking dish and place in preheated oven while you prepare the topping dough. (Remove from oven after 10 minutes or as soon as topping is ready to be added)
To prepare the Topping
  1. Place all dry ingredients in a mixing bowl and stir to combine.
  2. Add the diced butter and mix with a hand-held pastry blender until well mixed and the butter is in pea-sized pieces. (You may use a fork or your fingers for this step if you prefer)
  3. Add the half & half to the mixing bowl and stir gently until the mixture just comes together and resembles a soft dough.
  4. Remove the baking dish from the oven if it's not already out. Carefully drop the dough by spoonfuls onto the pear mixture.
  5. Place the baking dish back in the oven and bake for 30 minutes, or until the topping is lightly browned and filling is bubbling.
  6. Once removed from the oven, allow to cool slightly. Can be served warm or at room temperature.

Skillet Berry Cobbler

August 11, 2018

Skillet Berry Cobbler
Print Recipe
Servings Prep Time
6-8 servings 30 minutes
Cook Time
50 minutes (total)
Servings Prep Time
6-8 servings 30 minutes
Cook Time
50 minutes (total)
Skillet Berry Cobbler
Print Recipe
Servings Prep Time
6-8 servings 30 minutes
Cook Time
50 minutes (total)
Servings Prep Time
6-8 servings 30 minutes
Cook Time
50 minutes (total)
Ingredients
Ingredients for Filling:
  • 4 cups blackberries (fresh or frozen)
  • 2 cups blueberries (fresh or frozen)
  • 1/2 fresh lemon (zest and juice)
  • 1/2 cup sugar
  • 2 Tbs cornstarch
  • 1/2 tsp cinnamon
  • 1 Tbs butter (to be melted in pan)
Ingredients for Topping:
  • 1-1/4 cups all purpose flour
  • 2 Tbs sugar (plus extra for top of biscuits)
  • 1-1/2 tsp baking powder
  • 1/4 tsp salt
  • 4 Tbs chilled unsalted butter (cubed into small pieces)
  • 2/3 cup heavy cream (1/2 c for dough, remaining for top of biscuits)
Servings: servings
Instructions
To prepare the filling:
  1. Preheat oven to 350 degrees.
  2. Place 1 Tbs butter in 10" cast iron skillet and place in oven to melt butter while preparing berry mixture.
  3. Place all berries in large mixing bowl. Toss gently with lemon juice and zest.
  4. In a small bowl, whisk together sugar, cinnamon and cornstarch. Pour over berry mixture and toss gently to combine and coat berries evenly.
  5. Once oven is preheated, remove skillet from oven and carefully pour in the berry mixture. Be careful...your pan will be hot! Place skillet with berry mixture back in oven to heat up while making the cobbler topping.
To prepare the topping:
  1. In medium bowl, whisk together flour, sugar, baking powder and salt.
  2. Add cubed, chilled butter to flour mixture and cut together with pastry cutter (and/or hands) until butter pieces are the size of small peas and the mixture is coarse, but somewhat lumpy.
  3. Add 1/2 cup heavy cream to flour mixture and mix gently until dough just comes together and no dry bits remain (be careful not to over-mix).
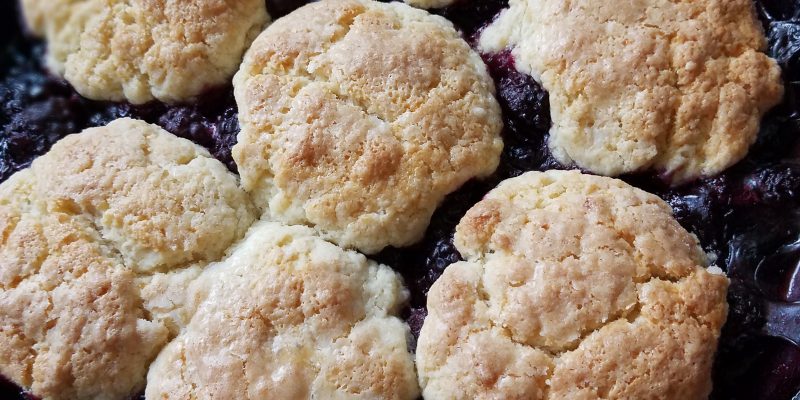
  4. Using clean, dry hands, form 6-7 individual biscuits with the dough and set aside until skillet comes out of oven.
To finish baking:
  1. Remove skillet from oven and raise heat to 400 degrees.
  2. Carefully place biscuits on top of berry mixture in skillet. Be careful...your pan will be hot!
  3. Using a pastry brush, brush remaining heavy cream on top of each biscuit and sprinkle with sugar.
  4. When oven comes to temp, place skillet back in oven for approximately 25 minutes or until biscuits are golden brown and filling is bubbly.
  5. Once cobbler is out of the oven, allow to cool slightly and serve with vanilla ice cream. Enjoy!

Ginger Pear Crumble Bars

November 18, 2017

Ginger Pear Crumble Bars
Print Recipe
Feel free to substitute any of our jams or fruit butters...our Raspberry Rhubarb is another favorite of ours for this recipe.
Servings Prep Time
36 servings 20 minutes
Cook Time
50-60 minutes
Servings Prep Time
36 servings 20 minutes
Cook Time
50-60 minutes
Ginger Pear Crumble Bars
Print Recipe
Feel free to substitute any of our jams or fruit butters...our Raspberry Rhubarb is another favorite of ours for this recipe.
Servings Prep Time
36 servings 20 minutes
Cook Time
50-60 minutes
Servings Prep Time
36 servings 20 minutes
Cook Time
50-60 minutes
Ingredients
  • 1 1/3 cups all purpose flour (unbleached)
  • 1 1/4 cups oatmeal (quick-cooking)
  • 1/3 cup sugar
  • 1/3 cup brown sugar (packed)
  • 1/4 tsp baking soda
  • 1/4 tsp salt
  • 1/3 tsp ground ginger
  • 1/2 cup chopped pecans
  • 3/4 cup unsalted butter (softened)
  • 1 cup pear butter (Smith Berry Barn)
Servings: servings
Instructions
  1. Preheat oven to 350 degrees. Prepare a 9" x 9" baking dish (see note below).
  2. Mix flour, oats, sugars, baking soda, salt, ginger and nuts, using electric mixer on low speed until incorporated.
  3. Cut butter into pieces and add to mixer while running on low speed. Continue to mix until butter becomes fully blended in and mixture looks crumbly.
  4. Measure 3 loosely packed cups of mixture into baking pan and press evenly into the bottom of the pan. Bake the crust until lightly browned, approximately 20 minutes.
  5. Remove baking pan from oven and carefully spread pear butter over crust, making sure to cover entire surface, all the way to the edges.
  6. Sprinkle the remaining crumb topping in an even layer over the pear butter.
  7. Return baking dish to oven and bake until topping is golden brown and filling begins to bubble, approximately 30 minutes.
  8. Allow pan to cool completely before cutting bars into squares. For best results, use a pastry scraper/cutter to cut evenly into 1" squares.
Recipe Notes

To prepare a baking dish for easy removal of bar cookies:?? First, prepare pan with butter or cooking spray.?? Cut two sheets of parchment paper that measure several inches larger than the pan you're using.?? Lay each piece of paper in pan and make crease marks on two opposing edges of pan to mark your fold lines.?? Remove paper and fold each side at fold lines.?? Place paper with open folded edges face down in pan and fold long edges up the side of the pan.?? Repeat with second sheet of parchment, laying it in pan the opposite direction.?? You should have four edges sticking up out of the pan and, once filled with the dough and baked, will come out very easily by simply lifting the edges of the paper, up and out of the pan.?? Voila!

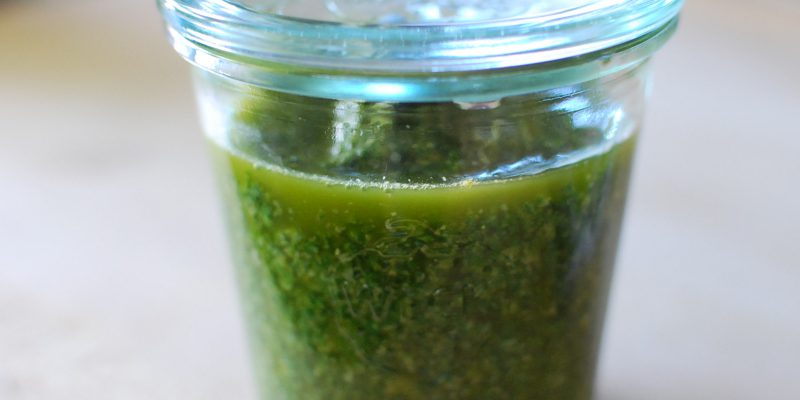
Fresh Basil Pesto

September 16, 2017

Fresh Basil Pesto
Print Recipe
Basil is sometimes difficult to grow in the Pacific Northwest, however we usually get a nice harvest in mid-late September and make large batches of this pesto to freeze for winter. See our notes below if you plan to freeze your pesto.
Servings Prep Time
1 cup 30 minutes
Servings Prep Time
1 cup 30 minutes
Ingredients
  • 4 cups (packed) fresh basil leaves (rinsed and patted dry)
  • 2-3 cloves garlic
  • 2 Tbsp pine nuts
  • 1/2 cup Parmesan cheese (freshly grated)
  • 1/4 tsp salt
  • 1/2 cup olive oil
Servings: cup
Instructions
  1. Remove fresh basil leaves from main stems, rinse and pat dry.
  2. Place basil leaves in bowl of food processor, along with garlic cloves and pine nuts.
  3. Pulse all ingredients in food processor until finely chopped.
  4. Add Parmesan and salt and pulse again to lightly incorporate.
  5. Add olive oil to food processor and pulse until pesto is at the desired consistency.
Recipe Notes

A note about freezing: ??We often freeze our pesto for use during the winter months in everything from pasta sauce, pizza topping and hearty soups. ??Simply omit the Parmesan and proceed with the basic recipe, pour the pesto into flexible muffin tins or ice cube trays and pop into freezer bags once they are frozen. ??The frozen cubes of pesto can be defrosted or put right into hot sauces and allowed to defrost while cooking. ??We tend to omit the pine nuts, as well, to keep our pesto very basic and add the Parmesan and nuts only if desired once defrosted.

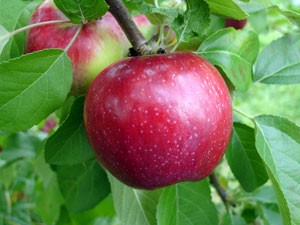
Fresh Applesauce

October 12, 2016

Fresh Applesauce
Print Recipe
Use this basic recipe for fresh applesauce and create different flavor profiles by mixing varieties of apples. See our suggestions below for the best apples to use for saucing. For added flavor, try adding cinnamon or ginger to taste.
Servings Prep Time
4 pints 20-30 minutes
Cook Time
30 minutes
Servings Prep Time
4 pints 20-30 minutes
Cook Time
30 minutes
Ingredients
  • 16 medium apples (approximately 6 lbs)
  • 1/2 lemon (juice and zest)
  • 1 cup water
  • 1/4 cup brown sugar
  • 1/4 cup white sugar
  • 1/4 tsp salt (optional)
Servings: pints
Instructions
  1. Peel, core and slice apples.
  2. Place all ingredients, including apples into large stock pot.
  3. Bring just to a boil on medium-high heat.
  4. Reduce heat to medium-low and simmer for 20-30 minutes, stirring (mashing) occasionally with potato masher.
  5. Sauce is finished when apples have softened completely. Sauce will be slightly chunky. If a smoother consistency is desired, run the sauce through a food mill or food processor.
  6. Sauce may be frozen for up to 6 months, or canned following specific canning guidelines for applesauce.
Recipe Notes

Apple Suggestions: ??We use at least two varieties in our sauce and can give you ideas on which varieties to combine for the best flavor and texture. ??Some of our favorite apples for saucing include McIntosh, Liberty, Gravenstein, Akane, Jonagold and Melrose. ??Stop in for samples and check out our Apple Variety list for information on the best apples for saucing.

Baked Apples with Crisp Topping

October 12, 2016
Course

Baked Apples with Crisp Topping
Print Recipe
Part 'baked apple', part 'apple crisp'...but no matter what you call it, it tastes delicious! And it's easy to make! Many of our apple varieties are great for baking. We like Jonathan, Jonagold, Honeycrisp or Empire, just to name a few. Special thanks to long-time staffer, Teanna, and neice, Summer, for their help developing this yummy recipe!
Servings Prep Time
12 servings 30 minutes
Cook Time Passive Time
45 minutes 45 minutes
Servings Prep Time
12 servings 30 minutes
Cook Time Passive Time
45 minutes 45 minutes
Ingredients
Start with
  • 6 medium apples
  • 1 cup apple cider (sub water if necessary)
  • 12 Tbs raspberry rhubarb jam (Smith Berry Barn brand is the best!)
For the Topping
  • 1/2 cup butter
  • 1/2 cup all purpose flour
  • 1/4 cup brown sugar
  • 1/4 cup oatmeal
  • 1/4 cup hazelnuts (chopped)
  • 1/2 tsp ground cinnamon
  • 1/4 tsp salt
  • 1 pinch freshly grated nutmeg
Servings: servings
Instructions
Prep the apples
  1. Preheat oven to 350 degrees.
  2. Core each apple and slice in half length-wise.
  3. Scoop out a bit more of the center of each cored area to create a small well for the jam.
  4. Fill each well with approximately 1 Tbs jam.
  5. Place apples (cut side up) in a 9"x13" baking dish.
  6. Pour cider (or water) into bottom of baking dish.
Prep the Crisp
  1. Mix all remaining ingredients with a pastry blender until blended and crumbly. A food processor will work, as well, but be careful not to over-mix.
  2. Evenly distribute the topping mixture on top of each apple half, mounding and pressing lightly to keep it in place.
  3. Bake 35-45 minutes, until apples are softened and topping is golden-brown. Test for doneness by piercing apple with a fork. Baking times will vary depending on the variety of apple you choose.
  4. Serve warm with vanilla ice cream.
Recipe Notes

This recipe can easily be cut in half using an 8"x8" baking dish and half the apples. ??However, we recommend preparing the entire topping recipe, so you can refrigerate or freeze the other half to use at a later date.

Pumpkin Chocolate Chip Cookies

October 12, 2016
Course

Pumpkin Chocolate Chip Cookies
Print Recipe
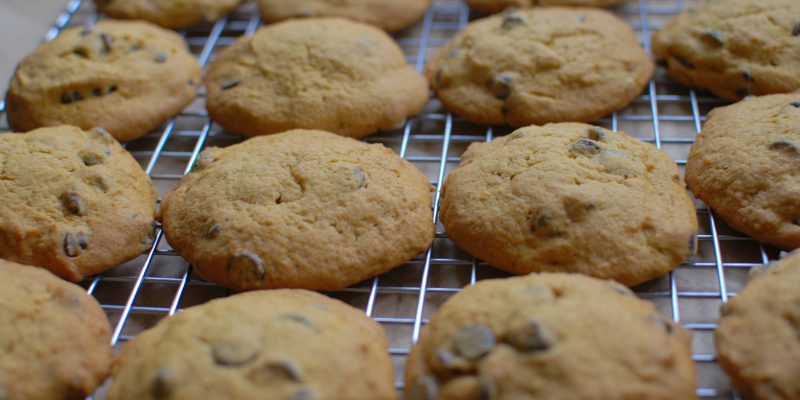
You may have tasted these wonderful cookies at our annual Heirloom Apple Festival. The recipe comes from 'Native American Cooking' and was originally introduced to us by our friends at Wood Haven Preschool.
Servings Prep Time
24 cookies 30 minutes
Cook Time Passive Time
15 minutes 15 minutes
Servings Prep Time
24 cookies 30 minutes
Cook Time Passive Time
15 minutes 15 minutes
Ingredients
  • 1 cup sugar
  • 1 cup unsalted butter (softened)
  • 1 cup canned solid-pack pumpkin (or fresh equivalent)
  • 1 egg (slightly beaten)
  • 1 tsp vanilla
  • 2 cups all purpose flour
  • 1 tsp baking soda
  • 1/2 tsp salt
  • 1/2 tsp freshly grated nutmeg
  • 1/4 tsp ground allspice
  • 1 cup semi-sweet chocolate chips
  • 1/2 cup chopped walnuts (optional)
Servings: cookies
Instructions
  1. Preheat oven to 350 degrees.
  2. Line cookie sheet(s) with parchment paper.
  3. In a large mixing bowl, cream the sugar and butter until fluffy.
  4. Add the pumpkin, egg and vanilla and beat until smooth.
  5. In a separate bowl, combine the flour, baking soda, salt, nutmeg and allspice.
  6. Slowly add the dry ingredients to the pumpkin mixture, small amounts at a time, and blend until completely mixed.
  7. Stir in chocolate chips and walnuts (if desired), until well-combined.
  8. Drop cookie dough by spoonfuls (we use a small ice cream scoop) approximately 2 inches apart on cookie sheet(s).
  9. Bake for 12-15 minutes or until golden brown. Cookies should be puffed slightly and will be cake-like in the center when cooked through.

Winter Squash Soup

October 12, 2016
Course

Winter Squash Soup
Print Recipe
We serve this hearty soup at our annual Heirloom Apple Festival and it gets rave reviews! Use any type of winter squash you would like, just vary the quantity, depending on the size of the squash.
Servings Prep Time
8 servings 1 hour
Cook Time Passive Time
1.5 hours 1 hour
Servings Prep Time
8 servings 1 hour
Cook Time Passive Time
1.5 hours 1 hour
Ingredients
For the Squash
  • 4 each acorn squash (or 2 medium butternut or 1 hubbard or other large squash)
  • 2 each fresh pears (peeled, cored and quartered)
  • 1 each sweet onion (quartered)
  • 1/4 cup melted butter
  • salt and pepper to taste
For the Soup
  • 4 cups chicken broth (sub vegetable broth for vegetarian option)
  • 1/4 tsp ground red pepper
  • 3/4 tsp ground cinnamon
For the Finish
  • 1-1/2 tsp salt (or to taste)
  • fresh ground pepper (liberal or to taste)
  • 1 cup heavy whipping cream
Servings: servings
Instructions
To prepare squash
  1. Preheat oven to 400 degrees.
  2. Cut squash in half, scoop out seeds and place in 9"x13" baking dish with cut-side facing up. You may need more than one baking dish depending on the size of your squash. See notes below.
  3. Place onions and pears around squash, filling all the spaces in the baking dish.
  4. Drizzle with melted butter and season with salt and pepper.
  5. Bake in oven approximately 45 minutes, or until fork-tender.
  6. Remove from oven and allow to cool enough that you can handle the squash. Scoop the flesh of the squash, discarding the skins.
  7. Place all ingredients from baking dish(es) into large stockpot and proceed with making the soup.
To prepare soup
  1. Add all remaining ingredients to stock pot with the squash mixture.
  2. Heat on medium heat, stirring occasionally, until mixture begins to bubble.
  3. Reduce heat to low and simmer, stirring occasionally, for 20 minutes.
  4. Remove soup from heat and puree the soup using an immersion blender. Puree until smooth (you may have a few onion pieces that won't puree...that's fine!)
To finish soup
  1. Add the heavy whipping cream, salt and liberal grindings of fresh pepper and stir to combine.
  2. Taste for seasonings and adjust if necessary.
Recipe Notes

We find that because of the varying sizes in squash, it's sometimes necessary to use more than one baking dish to roast the squash. ??Your baking dishes should be full but not too full, so if necessary, place ingredients into two dishes and place them side by side in your oven.

Also, the seasonings may need adjusting, due to the variations in the squash. ??Simply taste your soup and add more of each of the seasonings to taste. ??This soup comes out a little different each time we make it, but it's very forgiving!

Enjoy this soup with a crusty loaf of bread and a salad as a complete meal...or serve as an appetizer in small mugs at a holiday gathering.

If you end up with too much soup, place remaining soup in freezer containers and freeze for a later date! ??Enjoy!